Why Indian restaurants are switching to digital menus
A laminated menu card costs ₹80–₹200 per copy to print, goes out of date every week, and can't tell you which dishes guests look at most. A QR code digital menu costs nothing to update, works on every smartphone without an app, and gives you scan analytics, order data, and UPI payment in a single scan.
In 2026, guests expect it. Hotels, cloud kitchens, and quick-service chains have already made the switch. The good news: setting up a digital menu for your restaurant takes less than an afternoon with QRoute.
What a QR code digital menu actually does
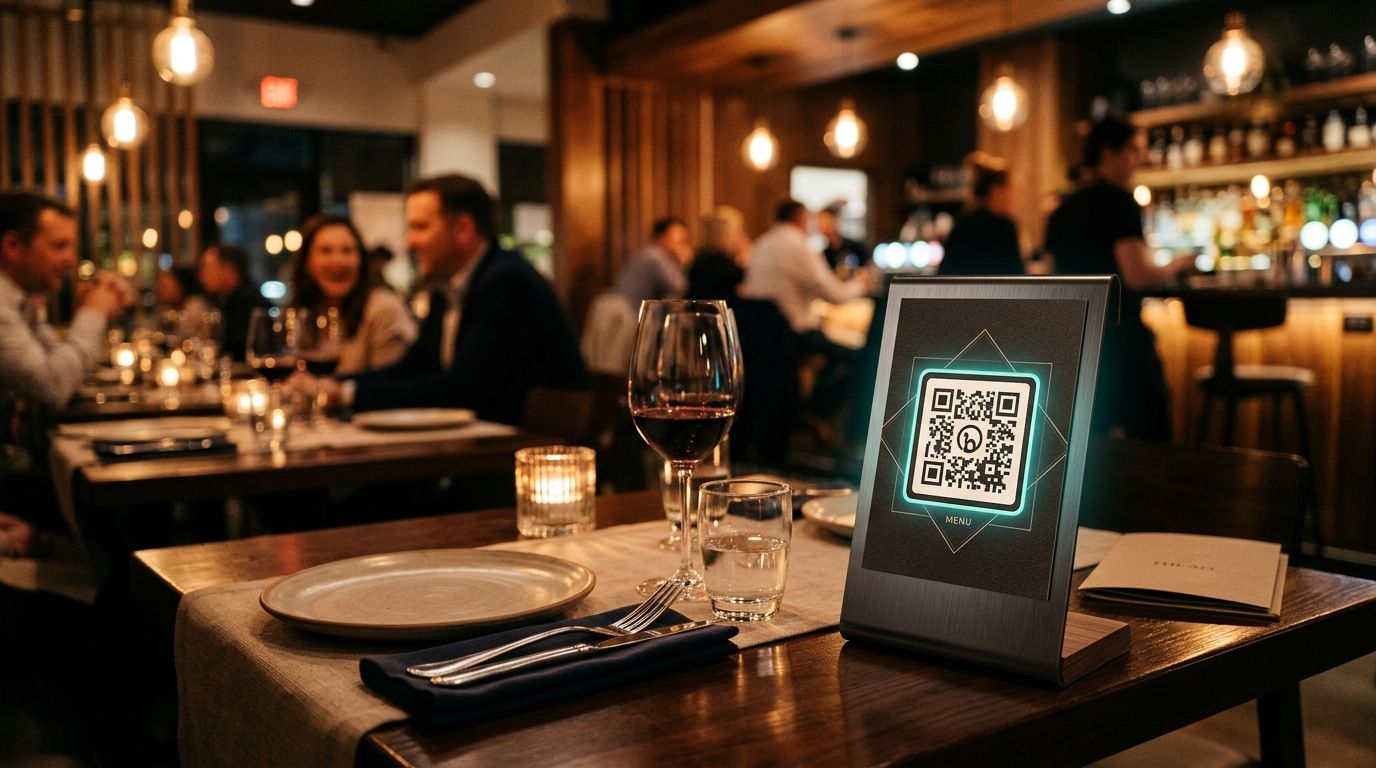
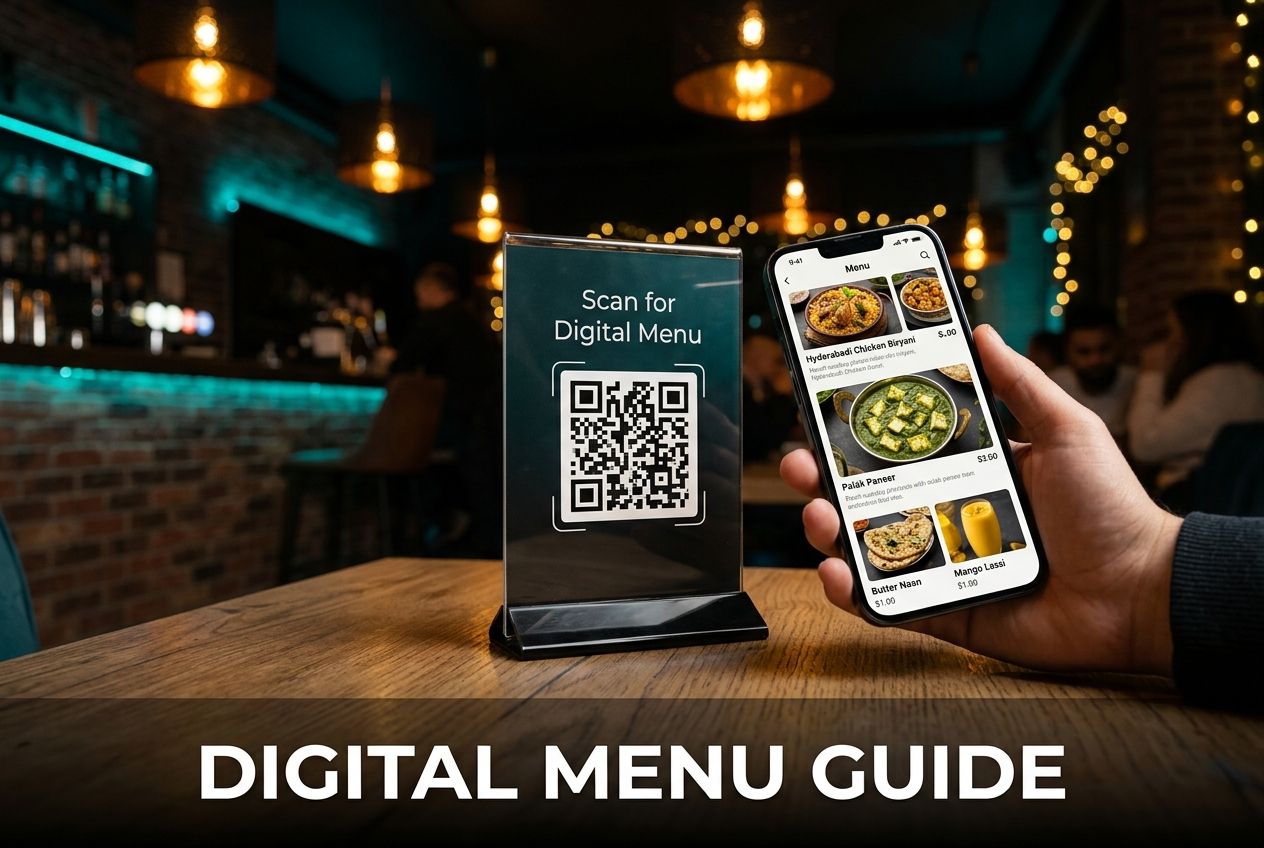
When a guest scans the QR code on your table, their phone opens a web page — your digital menu. No app download. No login. No friction. The page shows your categories, item photos, prices, veg/non-veg indicators, and add-ons.
With QRoute's restaurant system, that same scan also starts a table session. From there, the guest can:
- Browse the full menu with search and filter by category or dietary type
- Add items to a cart with variants and add-ons (e.g. "Butter Naan — Garlic, extra butter")
- Place the order — which appears on your kitchen display instantly
- Track the order status live: Accepted → Preparing → Ready → Served
- Request the bill and pay via UPI QR — without waiting for a waiter
Step 1: Set up your restaurant in QRoute
Sign in to your QRoute dashboard and navigate to Restaurant Setup. Enter your restaurant name, cuisine types, description, and branch details (address, GSTIN, FSSAI number, operating hours). If you have multiple branches, add each one — they share the same subscription but have independent menus and tables.
Add your branding: logo, cover image, brand color. This appears on the guest-facing menu page so it feels like your own app.
Step 2: Build your digital menu
Go to Menu Builder. Create categories (Starters, Main Course, Breads, Beverages, Desserts — whatever fits your menu). Inside each category, add items:
- Name & description — keep descriptions appetising, not just ingredient lists
- Price — in rupees, stored as integer paise internally for accuracy
- Photo — a good food photo increases order rate by 20–35%
- Dietary type — Veg 🟢, Non-veg 🔴, Egg 🟡, Vegan — shown as indicator dots
- Variants — Half / Full, Regular / Large, Single / Double
- Add-ons — "Extra cheese ₹40", "No onion", "Extra spicy"
- Allergens & prep time — optional but builds trust
- Chef Special / Popular — badge shown on the item card
When you're ready, click Publish. The menu goes live instantly on every table that has a QR code linked to this branch.
Step 3: Set up tables and print QR codes
Go to Tables and create your dining areas (Indoor, Outdoor, Rooftop, etc.). Add tables within each area with labels (T-01, T-02, or "Window Seat 3"). Each table gets a unique QR code linked to that exact table — so orders always know which table they're from.
Download the QR codes as SVG or a print-ready PDF. Print them on acrylic stands (₹40–₹80 each from any print shop) and place one on every table. Done. Your digital menu is live.
Step 4: Manage orders on the kitchen display
Open the Kitchen Display on any tablet or monitor in your kitchen. New orders appear the moment a guest places them — with all items, variants, add-ons, and any special notes clearly visible.
Your kitchen staff marks items Preparing when they start cooking and Ready when they're plated. The status update appears on the guest's phone in real time. Waiters see the ready notification on their waiter view and carry the order to the table. No paper tickets. No miscommunication.
Step 5: UPI payment at the table
When a guest is ready to pay, they tap "Request Bill" on their phone. A bill screen appears showing itemised charges, GST breakdown, service charge, and total. A UPI QR code is generated with the exact amount pre-filled.
The guest scans with GPay, PhonePe, Paytm, or any UPI app. Payment is confirmed in seconds. The bill status updates automatically — no manual POS entry, no waiting for a card machine. Cash payments can also be recorded by your staff from the manager view.
Live menu updates — the biggest operational win
This is where digital menus pay for themselves:
- Daily specials — add today's special and remove it at closing. Takes 30 seconds.
- Sold out items — toggle an item unavailable from your phone. It's greyed out for guests immediately. No more "Sorry, that's finished" conversations.
- Price changes — update GST-inclusive prices before the next service without reprinting anything.
- Seasonal menus — create a summer menu and a winter menu. Switch between them with one click.
The QR code on the table never changes. Only the menu behind it does.
Multi-branch management from one dashboard
If you run more than one outlet, QRoute's multi-branch system is built for you. Each branch has its own menu, tables, staff, and daily sales data. But all branches share one account, one subscription, and one brand.
From the main dashboard, you can see gross sales across all branches, compare performance branch-by-branch, and even push a menu update to all branches simultaneously. Restaurant chains with 10, 20, or 40 outlets use this to eliminate the coordination overhead of managing per-outlet systems.
Analytics: what sells, when, and where
Every scan starts a session. Every order is timestamped. QRoute's restaurant analytics dashboard shows you:
- Gross sales — by day, week, or month
- Average order value — track it over time to see if upselling is working
- Table turnover time — from first scan to bill payment
- Scan-to-order conversion rate — what percentage of table scans result in an order
- Top-selling items — by revenue and quantity
- Hourly sales heatmap — when is your kitchen busiest?
- Payment method split — UPI vs cash vs counter
These numbers tell you where to add staff, which items to promote, and when to run happy-hour offers.
GST-compliant invoicing
QRoute generates a GST-compliant invoice for every closed order. The invoice includes your GSTIN, FSSAI number, invoice serial number (INV/2026-27/00481 format), itemised taxes (CGST + SGST or IGST), service charge, and the payment method. Invoices can be printed from any browser, emailed to the guest, or exported as PDF.
Every invoice is sequentially numbered per financial year, append-only (never modified after issue), and can be voided with a reason if needed. Accountants love it.
Custom branded domain — your menu at menu.yourrestaurant.com
By default, your digital menu is served from go.qroute.in/r/yourslug. On any paid plan, you can verify a custom domain — say menu.spicegardenrestaurant.com. Add one DNS record, wait 10 minutes, and your QR codes now encode your own domain. Guests see your brand in the browser bar, not ours. Local SEO loves a branded URL too.
Cost comparison: paper menu vs digital menu
| Item | Paper Menu | QRoute Digital Menu |
|---|---|---|
| Design + print (50 copies, monthly update) | ₹4,000/month | ₹0 |
| Menu update when dish changes | Reprint full batch | 30 seconds, free |
| UPI payment | Separate QR sticker | Built-in, auto-calculated |
| Kitchen communication | Paper tickets / shouting | Digital KDS, real-time |
| Sales analytics | None | Full dashboard |
| Monthly cost | ₹4,000+ (printing only) | ₹499/month (Individual plan) |
Getting started — what to do right now
- Sign up for a free QRoute account at qroute.in/signup.
- Go to Restaurant Setup and add your first branch.
- Build your menu — categories, items, photos, prices.
- Create your tables and download the QR PDF.
- Print and place QR stands on every table.
- Open Kitchen Display on a tablet in your kitchen.
- You're live. Your first table scan can happen today.
The free plan includes 3 QR codes and 1 branch — enough to test the full system before committing. No credit card required.